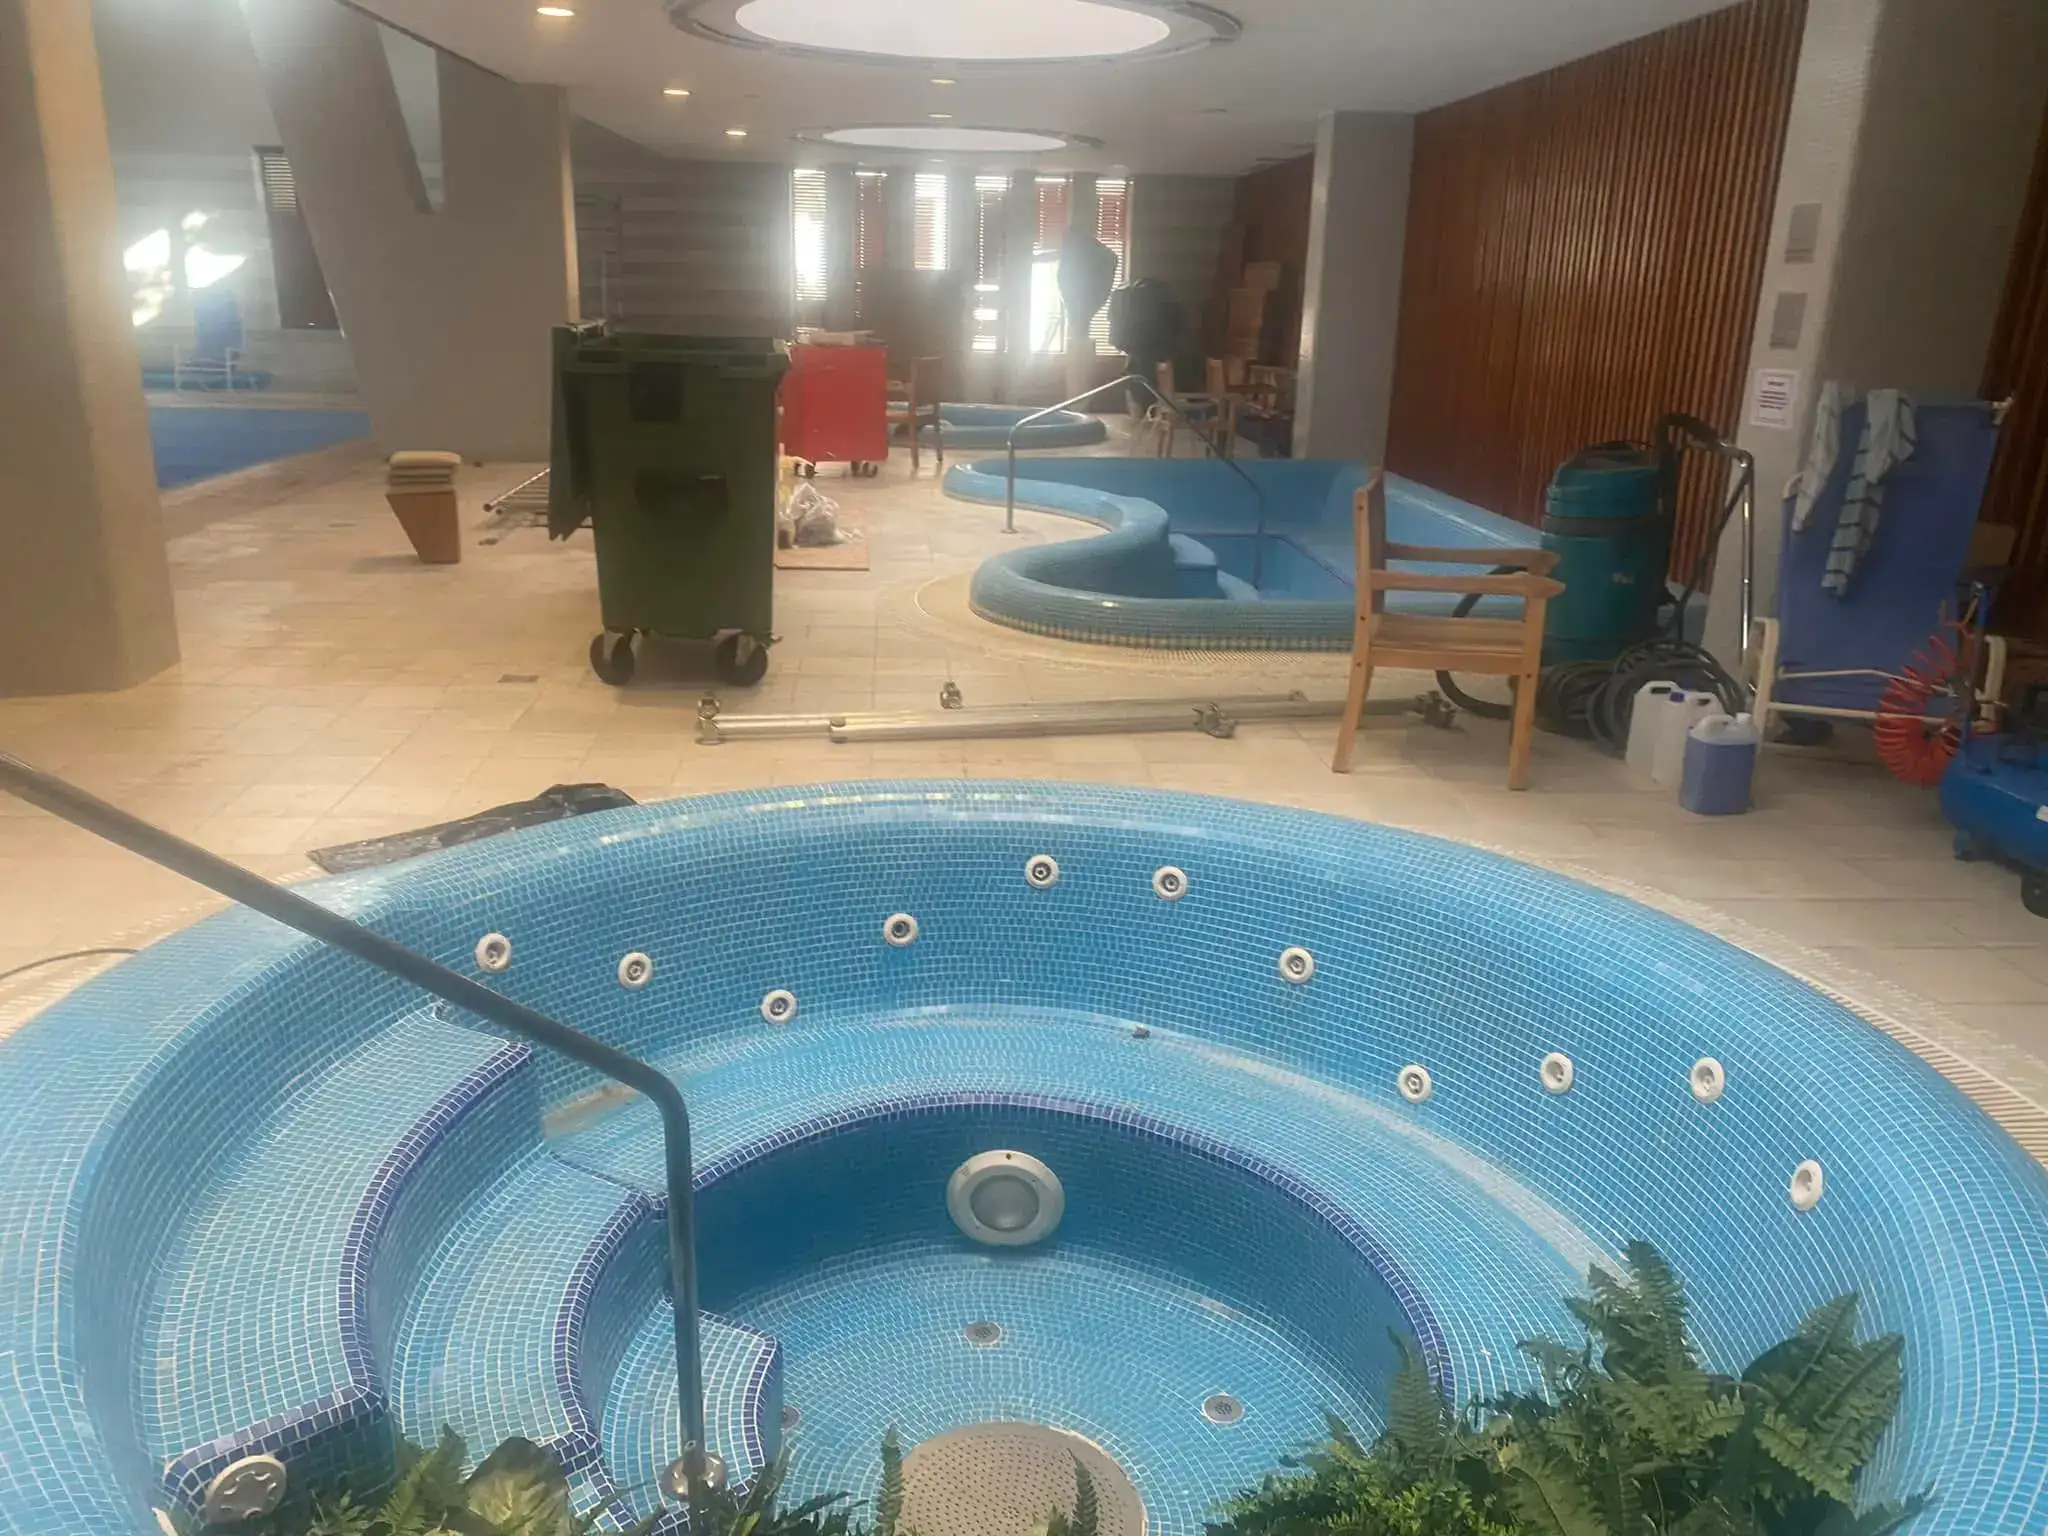
Pool Tiling: The Foundation of a Durable and Attractive Swimming Pool
Pool tiling is one of the most demanding and specialized types of tiling work. The surface remains underwater almost continuously, and it is constantly exposed to chemicals. Chlorine, pH-balancing products, and UV radiation create an extremely harsh environment. Therefore, every material must be carefully selected before installation begins. A poorly chosen or incorrectly installed tile covering can fail within a short time. However, high-quality materials and professional workmanship can protect a pool for decades.
Pool tiling is not only about appearance. The tile covering also protects the concrete structure from water penetration. It helps prevent cracking, and it reduces the risk of mineral deposits entering the concrete. A well-selected tile surface is easy to clean and highly resistant to algae growth. In this guide, you will learn about the most important aspects of pool tiling, from materials to installation.
Materials for Pool Tiling
Mosaic Tiles for Pool Tiling
Mosaic tiles are the most common and recognizable material for pool tiling. They are available in glass, ceramic, and natural stone varieties. Glass mosaic tiles are especially popular because they resist chlorine and pool chemicals exceptionally well.
Glass mosaics create a unique reflective effect. Underwater, they produce a bright and sparkling appearance that is difficult to achieve with other materials. As a result, they remain one of the most attractive options for luxury swimming pools. Blue and turquoise shades are particularly popular because they enhance the natural color of the water.
The small size of mosaic tiles is a major advantage on curved pool surfaces. They adapt easily to steps, corners, and rounded edges. In contrast, large-format tiles are much harder to install in these areas. Therefore, mosaic tiles are ideal for pools with complex shapes and detailed designs.
Porcelain Tiles for Pool Tiling
Porcelain tiles are another excellent choice for pool tiling. Large-format porcelain creates a clean, modern appearance. It also reduces the number of grout joints, which results in a more seamless surface. Consequently, cleaning becomes easier, and algae have fewer places to develop.
Only frost-resistant and chlorine-resistant porcelain tiles should be installed in swimming pools. Water absorption must remain below 0.5 percent to ensure long-term durability. Slip resistance is another critical factor because wet surfaces can quickly become hazardous. Pool edges and steps should use tiles with at least an R11 slip-resistance rating.
Porcelain tiles are particularly suitable for pool coping and surrounding terraces. Wet feet increase the risk of slipping around the pool, so safe flooring is essential. High-quality slip-resistant porcelain significantly improves safety. Moreover, it helps prevent accidents on wet poolside surfaces.
Natural Stone for Pool Tiling
Natural stone provides an elegant and timeless appearance. Travertine, limestone, and granite are all suitable options for pool applications. Each stone offers unique textures and patterns, so every installation becomes visually distinctive. As a result, natural stone adds considerable value to outdoor living spaces.
However, careful material selection is essential. Not every type of stone is suitable for constant contact with pool water. Porous stones absorb chlorinated water, and they can deteriorate quickly over time. Therefore, only dense stones with very low water absorption should be used.
Natural stone also requires regular sealing. This protective treatment reduces water penetration and shields the surface from harsh chemicals. It should generally be renewed at least once every year. Regular maintenance extends the stone’s lifespan and preserves its natural beauty.
Pool Liner as an Alternative to Tile
A pool liner is another widely used solution, especially for smaller or more budget-friendly pools. PVC and reinforced polyester liners provide complete waterproof protection. They are also relatively easy to replace if damage occurs. In addition, their installation cost is usually much lower than mosaic or porcelain tiling.
The main disadvantage of a liner is its appearance. It cannot match the premium look of mosaic or porcelain finishes. It is also more vulnerable to mechanical damage, and it may tear if exposed to sharp objects. Consequently, a lined pool generally has a shorter service life than a professionally tiled pool.
Preparing for Pool Tiling
Waterproofing Before Pool Tiling
Waterproofing is one of the most critical preparation stages in pool tiling. The concrete pool structure must be completely waterproofed before any tiles are installed. Otherwise, water can penetrate behind the tile covering and cause structural damage. Poor waterproofing often leads to tile failure, and it is one of the most expensive mistakes in pool construction.
Special two-component waterproofing systems should always be used for swimming pools. These products resist chlorine, pool chemicals, and constant water exposure. The waterproof membrane should be applied in at least two separate coats. In addition, each layer must dry completely before the next one is applied.
The quality of the waterproofing system directly affects the pool’s lifespan. Flexible waterproofing tape should be embedded into cracks, expansion joints, and structural connections. This solution prevents water from entering areas that are exposed to movement. Therefore, comprehensive waterproofing is essential for a successful pool tiling project.
Preparing the Substrate for Pool Tiling
Proper substrate preparation is another essential step before pool tiling begins. The concrete surface must be cleaned thoroughly to remove dust, dirt, grease, and loose particles. Damaged concrete and protruding sections should also be removed. Uneven areas must then be leveled to create a smooth installation surface.
The concrete should be treated with a suitable bonding primer before the adhesive is applied. This improves adhesion between the substrate and the tile adhesive. The primer must dry completely before tiling starts. Depending on the product and temperature, drying usually takes between four and twenty-four hours.
Pool Tiling Installation Process
Step 1 – Planning and Material Calculation
Every successful pool tiling project begins with careful planning. The exact dimensions of the pool should be measured before materials are ordered. Tile quantities must be calculated accurately, and an additional 10–15 percent should be included for cuts and waste.
Planning the tile layout is equally important. The mosaic pattern or tile arrangement should be decided before installation starts. Symmetrical pools require particular attention because the visual center must be positioned correctly. Careful planning also helps reduce material waste and installation errors.
Step 2 – Selecting and Applying the Correct Adhesive
Only adhesives specifically designed for submerged applications should be used for pool tiling. Standard tile adhesive is not suitable because it cannot withstand constant water exposure. A professional pool adhesive must also resist chlorine and aggressive chemicals. Therefore, selecting the correct product is essential for long-term performance.
The adhesive should be applied to both the substrate and the back of the tile. This method creates maximum bonding strength and minimizes empty spaces beneath the tiles. A notched trowel ensures an even adhesive layer. Air pockets must be avoided because trapped moisture can eventually cause tile failure.
Step 3 – Installing the Tiles
Tile installation usually starts at the bottom of the pool and gradually moves upward. Steps and corners should be completed first because they require the greatest level of precision. Curved pool surfaces especially benefit from small mosaic tiles, which adapt easily to complex shapes.
Each tile must be positioned accurately and secured firmly. Tile spacers help maintain consistent grout joint widths throughout the installation. Uniform joints improve both appearance and load distribution. Every completed row should also be checked carefully for level and alignment.
Step 4 – Drying and Grouting
After the adhesive has cured, the next stage is grouting. Most pool adhesives require at least 24 to 48 hours of drying time. However, cool temperatures or high humidity may extend this period. Grouting too early can cause tiles to shift or loosen.
Only waterproof and chlorine-resistant grout should be used in swimming pools. Standard cement grout is generally unsuitable for submerged environments. Epoxy grout is an excellent choice because it provides outstanding chemical resistance. Careful application and thorough cleaning are essential for achieving a professional finish.
Step 5 – Creating Expansion Joints
Expansion joints are essential for the long-term durability of pool tiling. Temperature changes cause tiled surfaces to expand and contract over time. Without expansion joints, tiles may lift, crack, or detach from the substrate. Flexible silicone sealant should be used to fill these joints.
Expansion joints should be installed along wall connections and across large tiled areas. In most cases, one joint is recommended every three to four meters. In addition, only waterproof and chlorine-resistant silicone should be used. Properly installed expansion joints ensure both flexibility and watertight performance.
Pool Tile Maintenance
Regular Maintenance for Pool Tiles
Regular maintenance extends the lifespan of pool tiles and keeps the surface looking attractive. The tiled finish should be cleaned with a soft brush at least once a week. This simple routine helps prevent algae growth and lime scale buildup. As a result, ongoing maintenance is much easier than removing heavy deposits later.
Water quality should also be monitored carefully. Proper pH levels and balanced chlorine concentrations protect both the tiles and the grout. Poor water chemistry accelerates the deterioration of grout joints and tiled surfaces. Therefore, regular water testing is an essential part of long-term pool maintenance.
Preparing a Tiled Pool for Winter
Winter preparation is just as important as routine maintenance. Before freezing temperatures arrive, the water level should be lowered below the freeze-sensitive areas. This step is especially important in regions with cold winters. Ice can create enormous pressure inside the pool, and it may damage the tiled surface.
Any cracks in the tile covering should be repaired before winter begins. Water can enter even small cracks, and it expands as it freezes. Consequently, minor defects may develop into serious structural problems. Preventive maintenance is both easier and less expensive than major repairs in the spring.
When Should You Hire a Professional for Pool Tiling?
Professional installation is recommended for almost every pool tiling project. Specialized materials and installation techniques require experience, and they are difficult for most homeowners to master. Even a small waterproofing mistake can lead to costly structural repairs. Poor workmanship may also compromise the entire investment.
Professional assistance is especially important for mosaic installations because precise alignment and pattern placement demand advanced skills. Large pools and complex pool designs also benefit from experienced installers. In addition, waterproofing work should always be completed by qualified professionals to ensure long-term reliability.
Conclusion
Pool tiling is one of the most specialized and technically demanding forms of tile installation. Every stage is important, from selecting the right materials to applying waterproofing and completing a precise installation. Mosaic tiles, porcelain tiles, and natural stone all provide excellent results when they are used in suitable conditions. Therefore, choosing the correct material depends on the design, budget, and performance requirements of the project.
A professionally installed pool tile system can maintain its appearance and protective function for decades. Regular maintenance, proper water chemistry, and timely repairs also contribute to long-term durability. A high-quality tiled pool not only enhances the property’s appearance but also increases its long-term value. For this reason, investing in professional pool tiling is often one of the best decisions for any swimming pool project.